Last weekend I made lumpia. Lumpia is a deep-fried Filipino spring roll. I got ideas from what my Lolo (my mom’s dad) taught me, as well as from a book my Auntie Tellie and Uncle Al got me called The Little Lumpia Book by Gene Gonzalez.
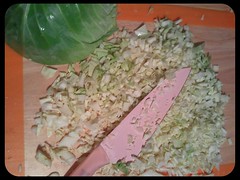
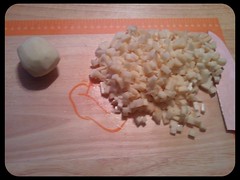
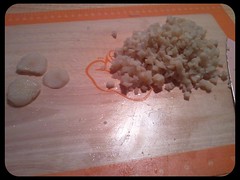
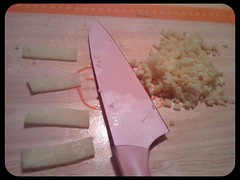
Sunday, I spent about 5 hours chopping vegetables. I decided to include onion, carrot, cabbage, potato, water chestnut, bamboo shoot, green bean, bean sprout, celery and garlic.
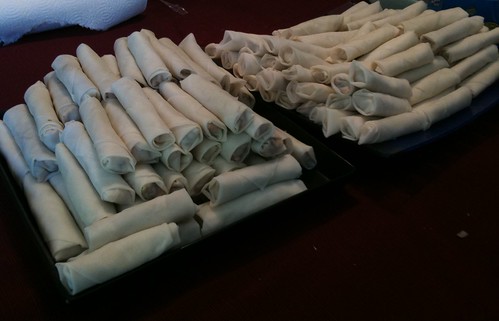
I made nearly 2 batches worth of lumpia (about 175 lumpia altogether).
I only used a little over half an onion for all 2 batches. I think I matchsticked 5 medium-sized carrots.
I used slightly less than a full head of cabbage, and 5 small potatoes (I used red because that’s what I had, but I could easily have used russet potatoes or even jicama).
I used 1 can of water chestnuts, and about half a can of bamboo shoots (I’m not the biggest fan of canned bamboo shoots).
I included around half a pound of thinly sliced green beans (about 1cm thick, in discs the width of the bean), but only 1 stalk of celery. I added generous amounts of minced garlic before cooking. For some horrible reason, I couldn’t find fresh bean sprouts at the store. I had a can of them, but was skeptical about how canned bean sprouts would work. I drained them, and let them air dry for about a day. Cooked in with everything else, they weren’t too bad. I’d definitely recommend fresh bean sprouts, though!
Since I was cooking to share with my food club friends, I made these lumpia vegetarian-friendly. With the first batch I used ground Quorn as the protein (6 oz. or half a bag). I stir fried with the vegetables about a tablespoon of sesame seed oil; and salt, pepper and soy sauce to taste until the vegetables were tender, but still crisp.
I cooked the second batch the same way, using chopped pre-cooked shrimp instead of Quorn.
I took Monday off work (finishing off my vacation hours before they expired on my 2 year anniversary with the company)! Marisa helped me wrap lumpia for 3 hours before they were ready for freezing and frying.
We bought frozen spring roll wrappers from a local Asian market. I thawed them by keeping them in the refrigerator for 24 hours, then setting them out on the counter in the morning.
Below are the steps we followed for filling and wrapping lumpia:
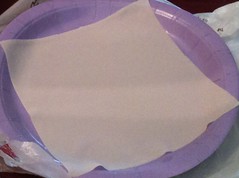
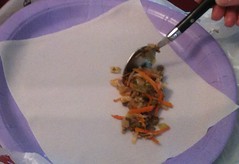
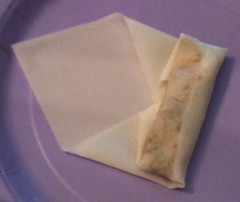
First, lay a single wrapper flat. Then fill with about 2 teaspoons of filling, spreading lengthwise.
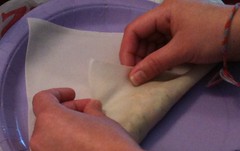
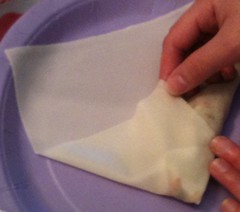
Fold the bottom up about 1/3 of the way. Tuck some of the excess around the filling.
Fold in each side.
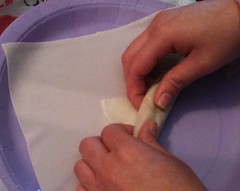
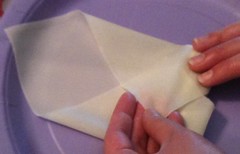
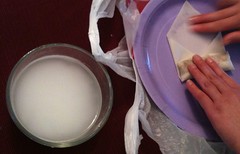
Roll up once, then apply adhesive (we used water mixed with cornstarch, but you can use egg, or even plain water) to the top edges of the wrapper.
Finish rolling up the wrapper and smooth the edges so it sticks closed.
The 2 of us wrapped 175 lumpia in around 3 hours.
We bagged 125 of them for freezing.
And fried the rest for food club.
I fried the lumpia in canola oil using my kawali (Filipino wok) over medium-high electric heat.
We served the lumpia with suka (white vinegar, a small amount of salt and pepper, and crushed or minced garlic).
Prep pictures taken with Vignette for Android on my Samsung Captivate. Wrapping and frying pictures taken with Marisa’s iPhone 3GS and cropped by me using Gimp.





Dad
Very cool. I’m hungry now!
Tanner
Wow, that’s a lot of Lumpia. How filling are they? It looks from here like 1 or two could get a person well on the way to being done eating.
Do you think it’d taste okay without the onion?
astranoir
I think it would taste just fine without the onion. Calorie-wise, a couple would probably be fine for a meal, but I will often have 2 as a side for a meal. It’s hard for me to gauge how filling they are because even when I’m full, I want to eat more lumpia. It’s my favorite food.
astranoir
Updated post to include bean sprouts. How could I forget!
Auntie Tellie
Lumpias look perfect and masarap!!!! I think Lolo would be proud of how you chopped the ingredients! Really!!! I’ll send your link to them.
astranoir
Thanks! It was a lot of work, but so deliciously worth it…