I have often found myself impatient with hand knitting. While I enjoy the process of knitting, I also like the output (and I an not a particularly speedy knitter). Other than socks (which have sometimes taken over a year to complete), I have not completed a hand knit garment (in spite of wanting to). The time investment is just too great. Enter machine knitting, a speedy (ish) alternative!
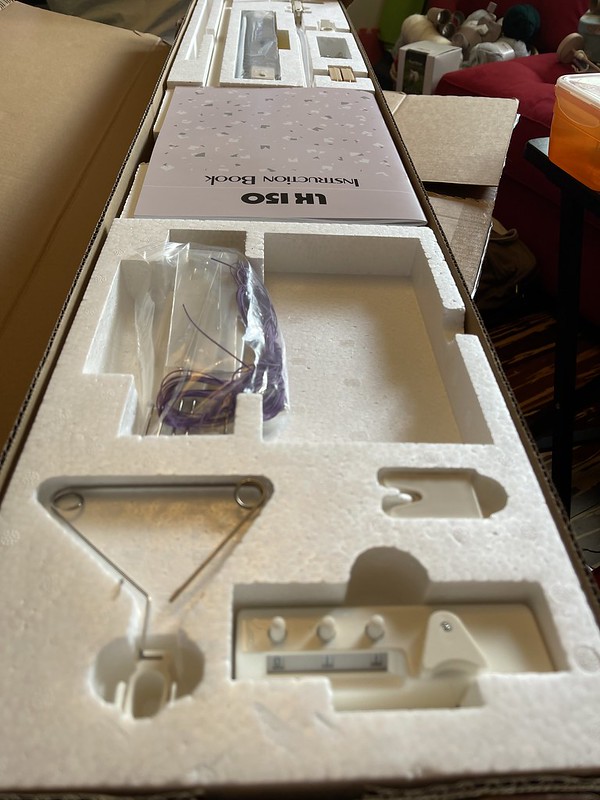
I wanted to start with something that was at the lower end of the price range for knitting machines, but still can handle making sweaters. I decided the LK 150 from Singer would be a good starting point for me, especially since it can handle both DK and worsted weight yarn, of which I already have a lot in my stash.
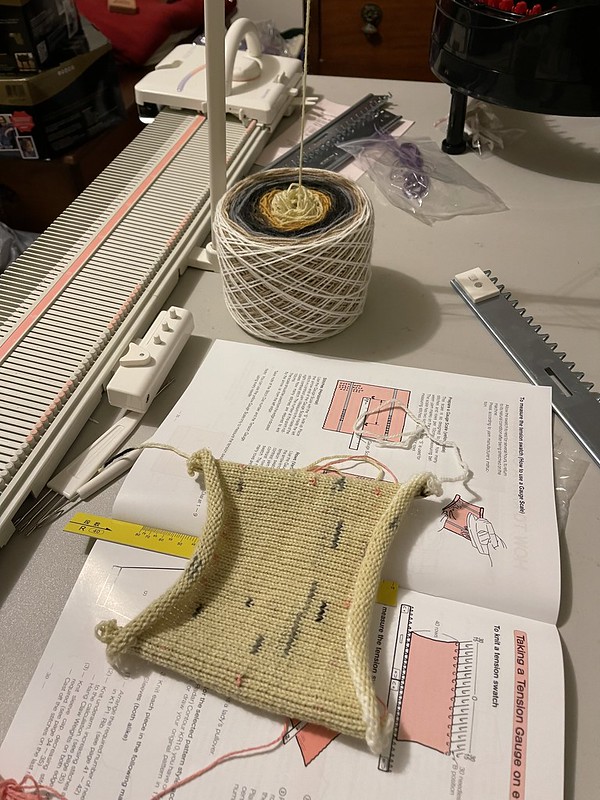
I started by knitting a basic rectangle of kitchen cotton to get used to how the machine worked. It also helped me realize / remember that basic stockinette curls on the edges.


I knew that my impatience wouldn’t serve me when preparing to make a machine knit garment, since I wouldn’t be able to try on the garment and adjust along the way while making it, so I actually did a little swatching in preparation for making my first sweater.
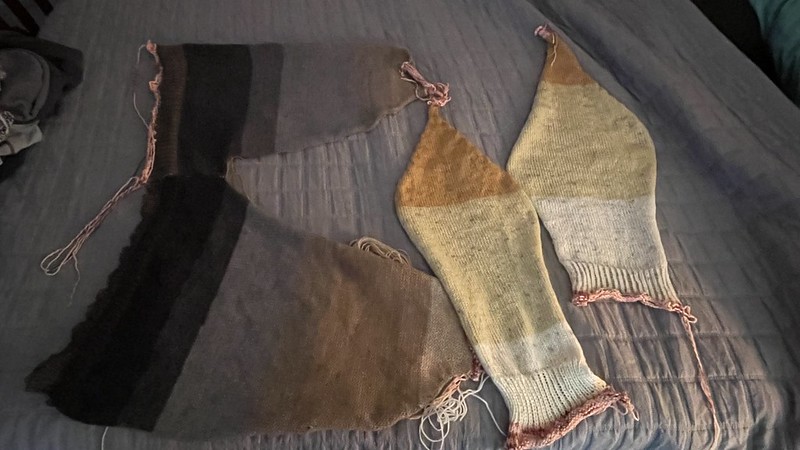
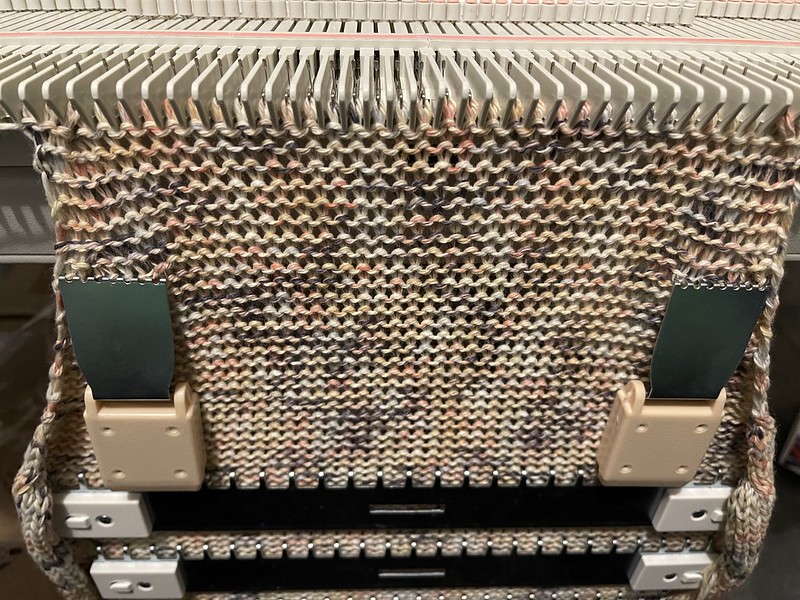
From there, I went for my first attempt at a raglan-style sweater. I knew you could hand-manipulate to create ribbing on a single bed machine, so I tried to that for the bottom of the sweater and the cuffs of the sleeves, to decent effect.

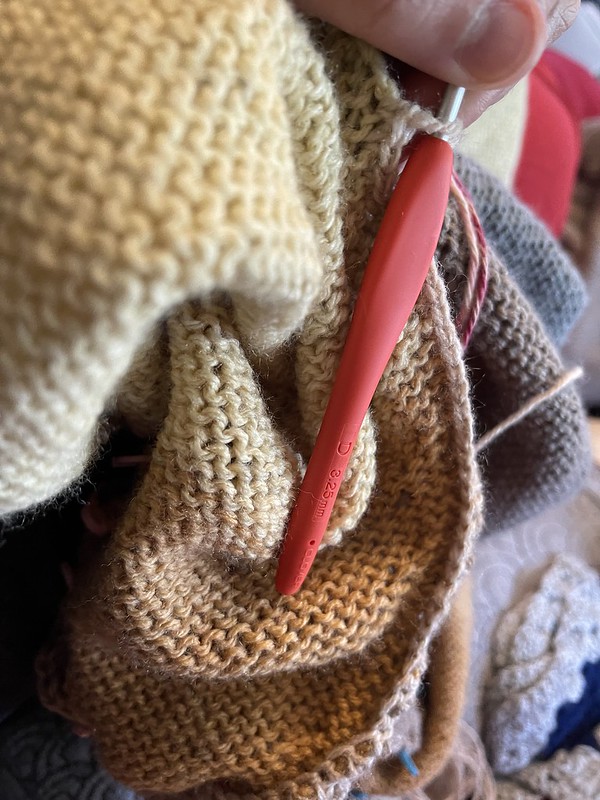
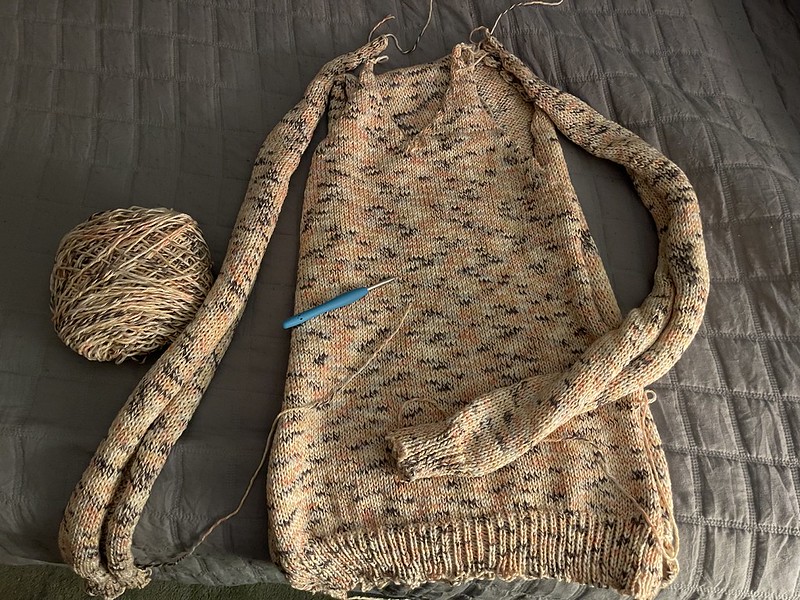
I didn’t want to re-hang all of the sweater components in order to join and finish the sweater, so I single crocheted the pieces together.

Having successfully made a wearable sweater, I was hyped. I made the sweater from an acrylic yarn, which doesn’t breathe particularly well, so I wanted to use a blend in my next sweater. I had a cotton acrylic blend on hand, so I decided to try that out to see how differently it might knit up.
I followed a similar approach to the previous pullover sweater, but had more success attempting a v-neck on this one.

Each sweater took between 30 and 40 hours to complete (mostly weekends). So, not a minor endeavor, but significantly faster than I would be able to knit (or even crochet) a sweater for myself.
Since the initial pullovers I made, I made a semi-successful cardigan. With the weather being chilly, I am already itching to make some more machine-knit sweaters.